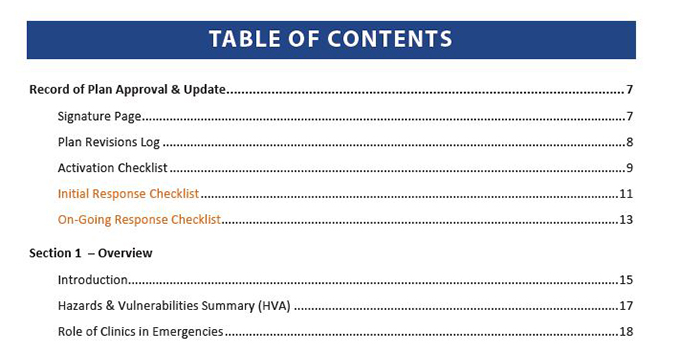
How to create a table of contents

In just a few clicks Microsoft Word can generate an automatic table of contents from all the headings and styles in your document. But in order
for this to appear as it should, there are some very important steps you’ll need to take when creating your document.
The most important step by far is that you should always use paragraph styles. Any table of contents is generated based on these styles so if
they haven’t been set correctly, the table of contents won’t appear correctly either.
So if you’re not familiar with paragraph styles and how they work, now’s the time! And if this seems quite complicated, don’t be tempted to try
to create a table of contents manually. It won’t look good and keeping all the page numbers correct when you make changes to your document will
just be a nightmare. It’s really worth understanding now how to do it properly.
Use paragraph styles
Every heading in your document should be created using a heading style. Word comes with several of these already built in such as Heading 1,
Heading 2 and Heading 3. You might use these for your main headings, sub headings and any lower level headings. Simply select your heading text,
click Heading 1 and it will be exactly the same font, size, weight and spacing as any other Heading 1 in your document.
And when it comes to creating a table of contents, this work really pays off as the table you create is fully dynamic. This means if you update
a heading or add a new one, you can simply click to update your contents and any new item styled with Heading 1 will now appear alongside the
correct page number showing.
Create table of contents
Okay, so you’ve been using heading styles in your document and you are ready to create a table of contents. Place the insertion pointer where
you want your table of contents to appear, and now just head over to the References tab on the ribbon and the first group is called Table of
Contents. Let’s do this properly so click on Custom Table of Contents. Let’s start by using the default settings, so just click OK. You should
now see a table of contents appear which will include all the headings you created with the Heading 1, Heading 2 and Heading 3 styles.
More headings
For a lot of documents this is actually enough and you’re done. You can add more headings and then just put the insertion point into the table
of contents, right click and choose Update Field and then Update entire table and the table of contents has now been updated.
Don’t forget to update your table of contents whenever you change any of the headings or change the content so the page numbers change. It’s
really easy to do.
Styling a table of contents
If you need to create anything other than this default table of contents, it will help to understand a little more of how it works.
By default your heading styles will assume a level associated with each heading, with Heading 1 being level 1, Heading 2 is at level 2 etc.
This simply means that the Heading 1 entries in the table of contents should be more prominent in the table of contents.
In fact, you shouldn’t be surprised to know that the table of contents actually uses styles itself. You can select any entry in the table of
contents and you’ll see which style it used. Typically the styles will be TOC1, TOC2 etc. and these are already created for you in Word. Of
course, just like any other styles, you can change the format to make your table of contents look better.
You might want to add some color to Heading 1, perhaps make it bold or capitals and then make sure that the TOC 2 styles (used by default by
Heading 2) is indented and perhaps in a smaller font.
How can we help?
As you can see Word is very powerful, can do some amazing things for you with tables of contents, but can also be quite complex to get it to
do exactly what you want. If you have some more complex requirements or would just rather leave it all to the experts, get in touch, we would
be delighted to help you.